Overview
Create a new SMS broadcast order.
|
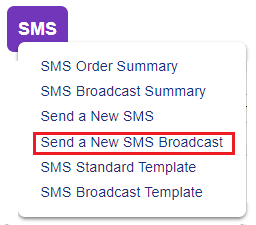
Click the 'SMS' tab at the top of the interface to open the WebSMS(+) menu.
Click 'Send a New SMS Broadcast' to open the 'New SMS Broadcast' screen and compose a new order.
|
Description
New SMS Broadcast |
Summary
Provide a short Name and Description to the SMS Broadcast.
|

The above is a sample summary of a Broadcast Order. This provides an extensive look as to how the Order is performing in the real world especially when the order caters to large scale audience. This in-turn provides valuable analytic information to Users.
Name
|
A word or number used to identify the order in summaries and reports (not visible to message recipients).
|
Created By / Last Modified By |
Provides information on which User created / last modified the Order. |
Created At / Last Modified At |
Provides information on when the Order was created / last modified. |
Description
|
Type/paste any extra descriptive information which might be useful.
|
Labels |
An add-in license is required to use this feature.
If you've created labels to help distinguish order types, you can assign them here.
The label will be visible in the 'Labels' column of summaries and reports, and can also be used as a search filter.
|
Destinations
|
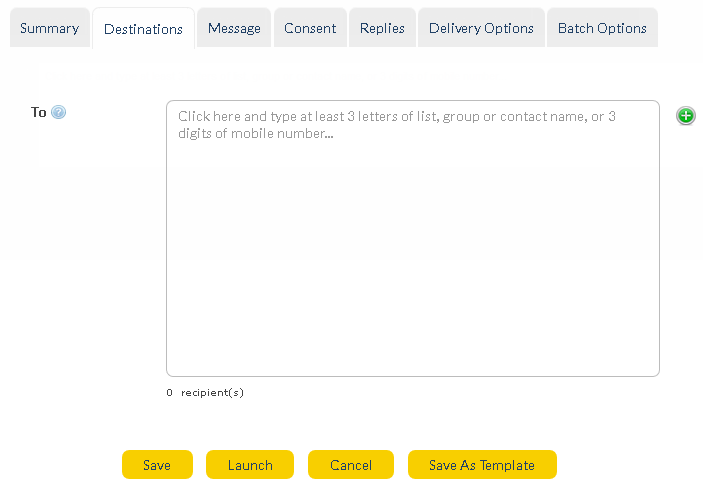
To
|
There are 2 methods for selecting your message recipients:
Option 1
Type 3 (or more) sequential numbers/letters of the destination mobile device or contact/list/group (if known):
e.g.
For number '61490123456' type '614';
For group called 'Group1' type 'Gro'.
Any possible matches will be displayed in the drop-down list at the bottom of the field. Select an item to add destination.
If no matches appear, type/paste the number in full then press 'Enter' or 'Tab'.
You can paste a selection of multiple numbers (but not contacts/groups/lists) simultaneously. Numbers should be entered in international format.
Option 2
Click
Please Select - Drop-down shows the option of Lists, Contacts & Groups.
Created/Modified within - Allows three options - Last week, Last 30 days & Last 180 days.
Click
•How to personalize using Mail Merge (click to expand)
Anytime, a User enters an invalid mobile number, they are provided with a warning message prompting the User to re-enter a valid mobile number.
|


Message
|
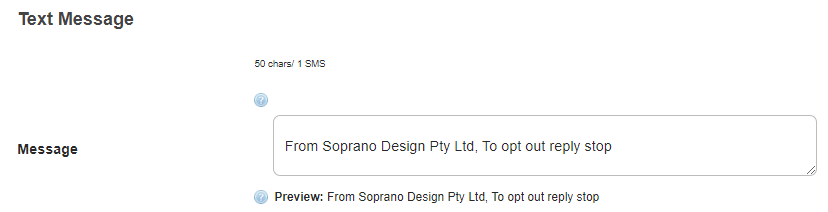
For Example:
|

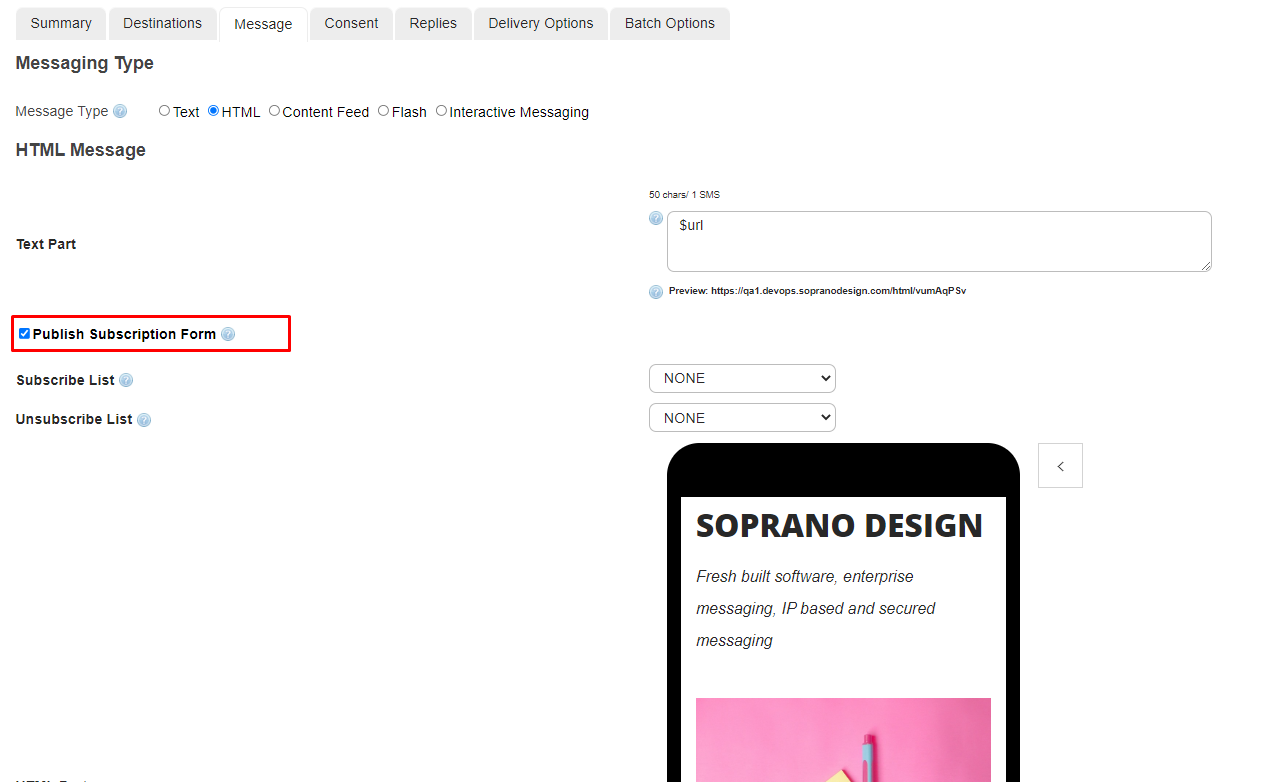
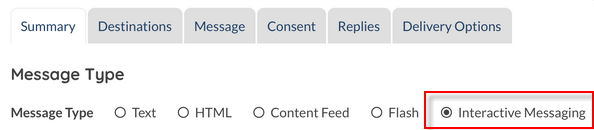
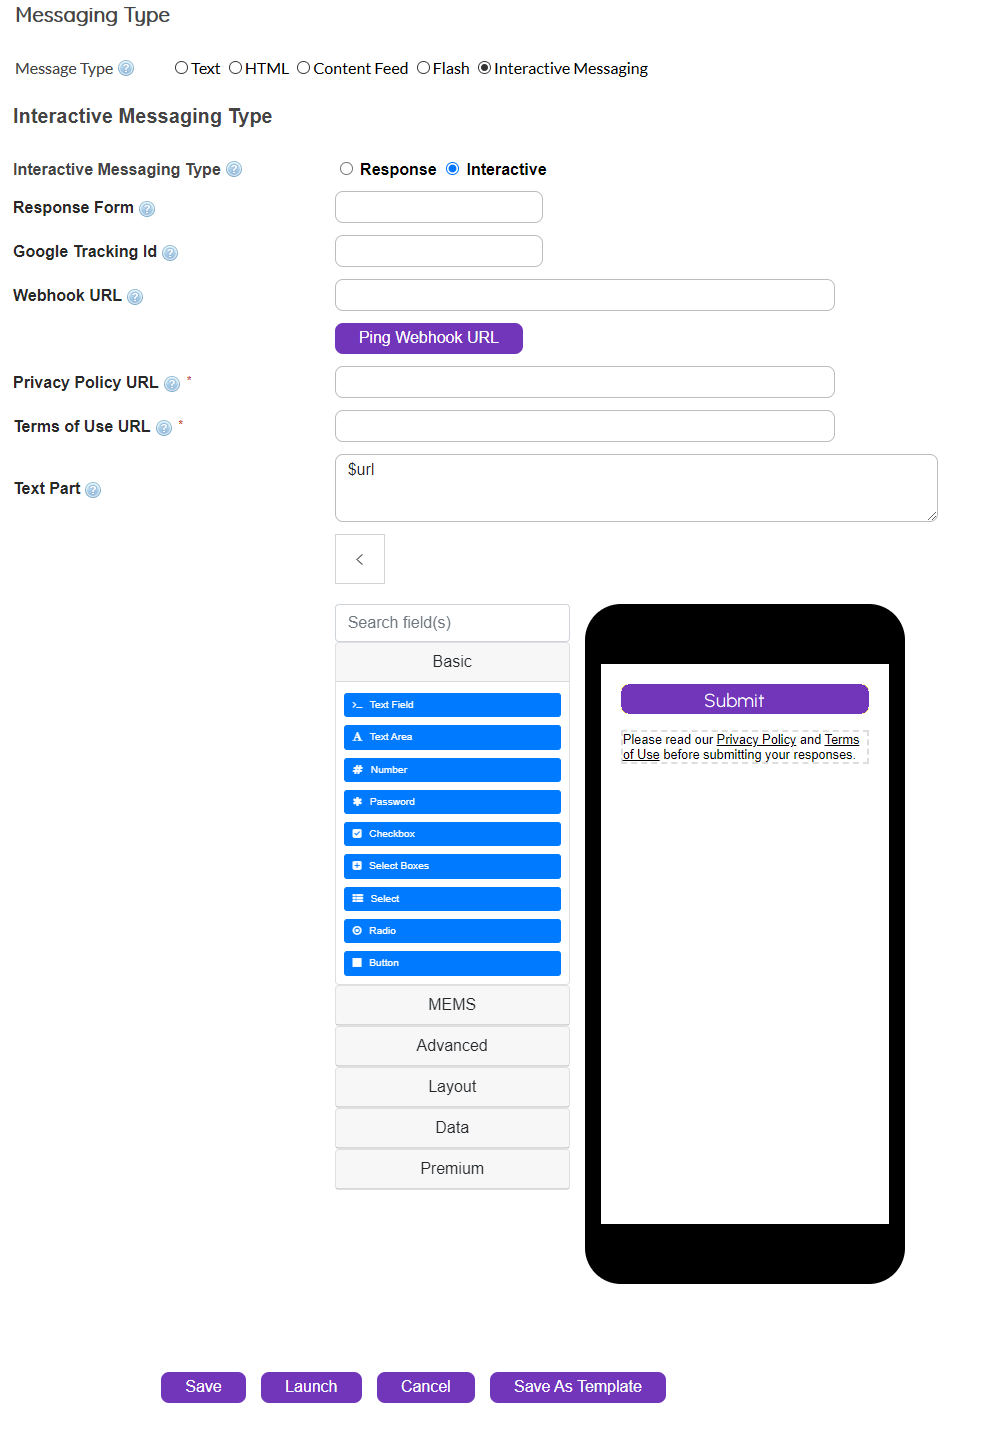
Message Type |
There are 8 potential message types (some may not be visible due to license restrictions). You are able to create text messages. Click the radio button next to the required message type.
Click a message type below to view more information.
|
|


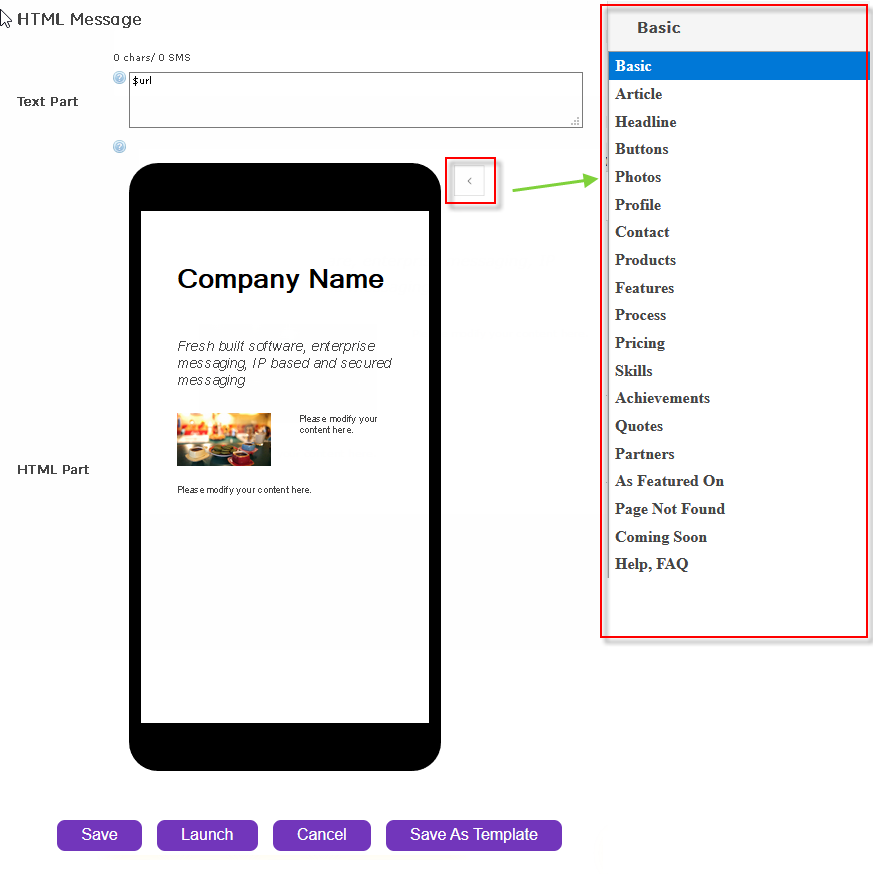
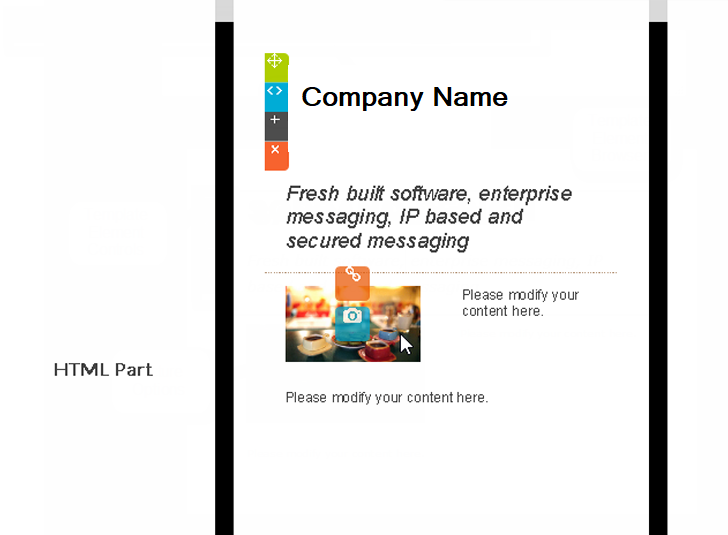
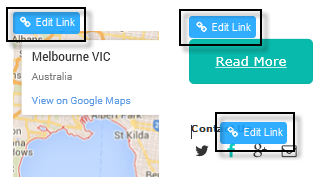
HTML allows you to create an HTML message page (by means of drag-and-drop elements) which is stored on the LDAP (Active Directory) Plug-in server and displayed in the mobile device's browser when the message recipient clicks on a link sent to their mobile device via SMS.
HTML allows you to harness the rich media options of a website or email and deliver it in the convenient, high engagement format of SMS. A unique URL is generated for each recipient, allowing tracking of the open rate of your HTML message. MailMerge capabilities in both the SMS and HTML portions of the message gives you control to personalize the message to your recipients.
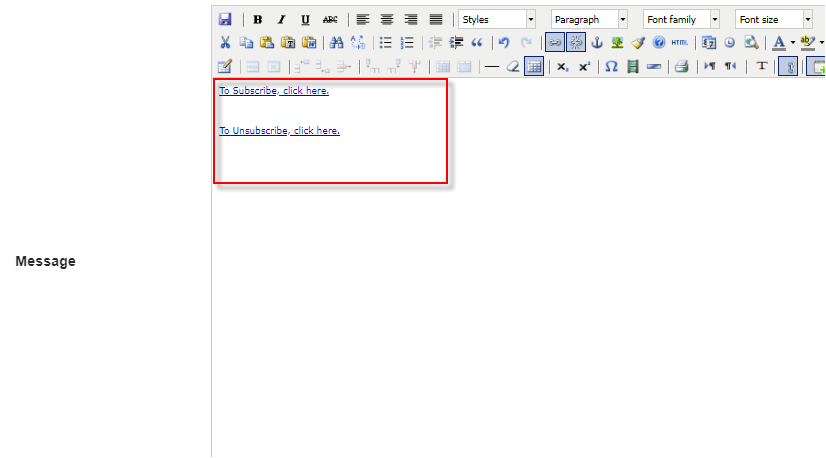
Using Mail Merge
To use Mail Merge in your HTML message, please refer to the Mail Merge section of the Text Message topic. Mail Merge is enabled in both the Text part and the HTML part of the message.
|


 .
.
|
|
Note: This is a licensed feature. Get in touch with help@sopranodesign.com for more information.
|
Consent
|
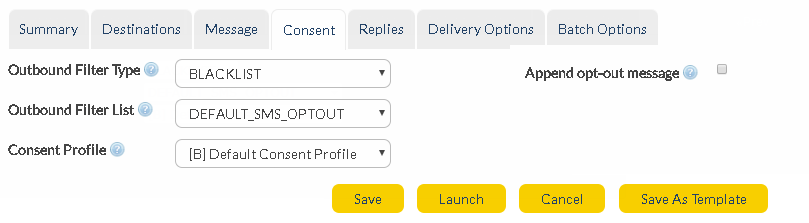
Outbound Filter Type |
The options in this drop-down menu are:
•NONE
•BLACKLIST - Messages will only be sent to numbers that do not appear in the chosen list (see 'Outbound Filter List' field). If you need to comply with Spam Act requirements then you would most likely choose 'Blacklist'. From the drop-down list, select the blacklist or whitelist list you wish to use as your filter. Multiple lists can be configured within GSMS to enable the user to choose the most appropriate one.
•WHITELIST - Messages will only be sent to those numbers that are contained in both your destinations and the chosen whitelist.
The lists are filtered to present only 'Text' type lists and not 'Upload' or 'Automatic'.
|
Outbound Filter List |
Select a list from the drop-down menu. This is the blacklist or whitelist that will be used to filter messages.
|
Consent Profile |
Choose a consent profile from the drop-down menu (if available). For more information about Consent Management, click here.
|
Append Opt-out Message
|
Send messages with an opt-out option (recipients can reply with a 'Stop' keyword to be removed from the current list and added to the chosen blacklist).
Note: if this check box is ticked, you cannot specify a different source address in 'Delivery Options'. See below for more details. |
Add to Blacklist |
Select a blacklist or whitelist from the drop-down menu. If a recipient replies with the 'Stop' keyword, they will be automatically added to this list.
Note: If New Users are added to the system, three new lists are created by default namely DEFAULT_SMS_OPTOUT, DEFAULT_MMS_OPTOUT and DEFAULT_EMAIL_OPTOUT. |
|
If a 'Source Address' has been defined in the 'Company SMS Preferences':
•The 'From' address for messages will match the 'Source Address';
•'Append Opt-Out' check box on 'Consent' tab will be un-ticked;
•'Opt-out' list will be disabled;
•All 'Source Addresses' will be displayed.
If a 'Source Address' has NOT been defined in the 'Company SMS Preferences':
•'Append Opt-Out' check box on 'Consent' tab will be ticked;
•'From' addresses will be disabled and show 'NONE';
•'Opt-out' list will be enabled. |
Replies
|

Reply to Address Type |
Select from the drop-down menu for each message type. If a recipient replies to your message, this is the method by which it will be received.
•EMAIL - Reply is sent to both a nominated email address and directly into AT&T GSMS.
•INBOX - Reply is received directly into AT&T GSMS platform - not email inbox. Received messages can be viewed in Messages section.
•MOBILE - Reply is sent to both a nominated mobile number and directly into AT&T GSMS.
•URL - Reply is sent to both a nominated web address and directly into AT&T GSMS.
|
Reply to Address |
Type/paste the reply email address, phone number, or URL for each message type. If 'INBOX' is your Reply to Address Type, this field is not required (replies will go straight into the messages inbox within AT&T GSMS.
|
Delivery Options
|
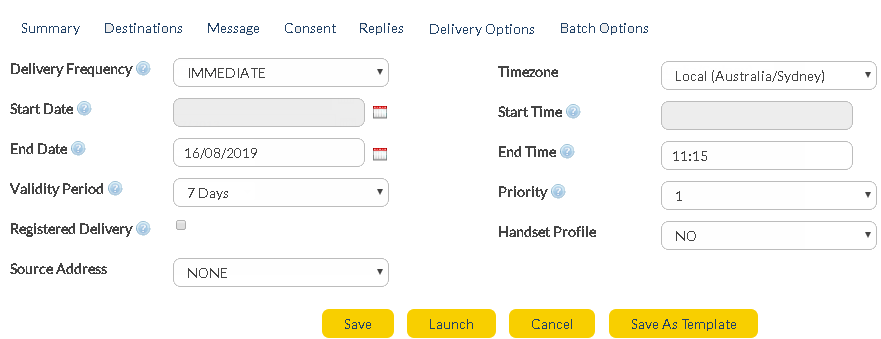
Delivery Frequency |
Select from the drop-down menu. This is how often your message will be sent.
•BI-WEEKLY - Every 2 weeks
•DAILY - Once per day.
•HOURLY - Once per hour.
•IMMEDIATE - Once.
•MONTHLY - Once per month.
•ONCE - Once (at a future date and/or time).
•WEEKDAY - Once per weekday.
•WEEKEND - Once each weekend day (usually Saturday/Sunday however this may be configured differently for different nationalities).
•WEEKLY - Once per week.
•LIST_TRIGGER - Automatically sent upon retrieval of a list.
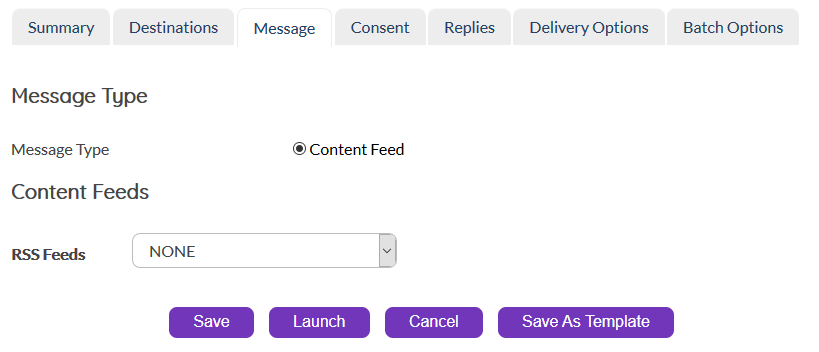
•CONTENT_TRIGGER - Automatically sent upon the retrieval of new content from a specified feed. More information about content feeds.
|
|
If a recipient opts-out from receiving messages after an order has been scheduled, the scheduled message will NOT be sent to them. |
Start Date |
Click
e.g. if 'Delivery Frequency' is 'MONTHLY' and 'Start Date' is '01/09/2012', the message will be delivered on the first day of each subsequent month (01/10/2012, 01/11/2012, 01/12/2012 etc).
|
Start Time |
Type/paste the time when you would like the message to be sent. If your message is recurring, it will always be sent at this time of the day.
|
End Date |
Click
|
End Time |
Type/paste the time when you would like the final message to be sent (format HH:mm).
|
Validity Period |
Select from the drop-down menu. Queued messages will not be sent after this amount of time.
Options:
•1 Day
•1 Hour
•12 Hours
•14 Days
•2 Days
•2 Hours
•30 Days
•4 Hours
•7 Days
•8 Hours
•Always Valid
|
Priority |
Select from the drop-down menu. If you are running more than one campaign at the same time, this field determines the order in which they will be launched.
e.g. 'Order 1' is assigned priority '1', and 'Order 2' is assigned priority '2'. Both orders are launched at the same time. 'Order 1' messages will be sent first.
|
Timezone Open Hours |
Select from the drop-down menu. Click here for more information.
|
Handset Profile |
Select from the drop-down menu (if enabled) or choose 'NO'. Click here for more information.
|
Registered Delivery |
Click check box to receive confirmation that a message has reached its destination(s).
The delivery receipt message will be delivered to the platform inbox.
This field can be pre-populated by flagging the 'Registered Delivery' check box in Company SMS Preferences (Customer Administrators only).
|
Source Address
|
Allows user to present any of their available addresses or alpha-tags as the broadcast sender.
This field is not active if the 'Append Opt-Out Message' check box is ticked in the 'Consent' tab. This prevents any conflict if an alpha-tag is selected as the source address, since replies can not be sent to an alpha-tag source.
|
|
Note: If you select monthly, and the start date is the last day of the month, then the platform will launch subsequent orders on the last day of the given month, regardless of the date.
e.g. Start date - 31 January 2019 Next monthly delivery date - 29 February 2019 |
|
Note: The service checks for, and executes new orders in 5 minute intervals. |
Batch Options
|
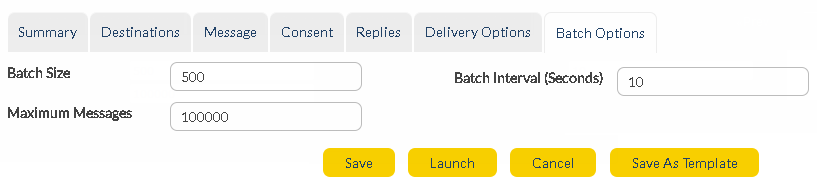
This feature allows you to control the rate at which messages are delivered.
e.g. if your message contains a prompt to call a phone number, you may want to stagger the delivery of the messages so that your phone system is not overloaded with calls.
Batch Size |
Edit the batch size here. The default is 500 (i.e. 500 messages per batch)
|
Batch Interval |
Edit the interval between batches here. The default is 10 seconds.
|
Maximum Messages |
This feature is useful if you are not sure how many recipients there are in a list but you want to limit the number of messages sent so that you don’t exceed your campaign budget.
The default is 100,000 messages.
|
Once all required fields are complete:
|
Store changes and exit without sending or scheduling.
|
|
If 'Delivery Frequency' is 'IMMEDIATE', this button launches the order.
|
|
If 'Delivery Frequency' is 'ONCE', or a recurring value (e.g. 'DAILY'), this button activates the order so that it will be sent at that time (and/or frequency).
|
|
Undo any changes and exit.
|
|
Store order content as a template for later use.
|
Statistics
Once SMS Broadcast orders are executed, summary statistics are returned for the broadcast.
Bounced |
SMS Broadcast messages with a 'Bounced' status are determined from the message status. The following statuses are grouped together as 'Bounced' messages:
•Message was undeliverable •Invalid source address •Invalid destination address •Message expired prior to successful delivery
|
Filtered |
The following status will cause a message to be viewed in "Filtered" Status:
•Filtered by outbound blacklist |
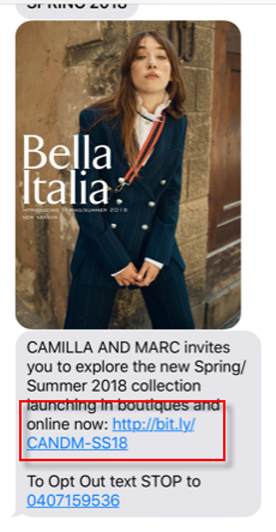
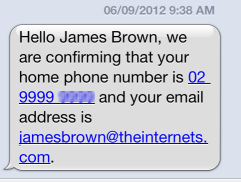
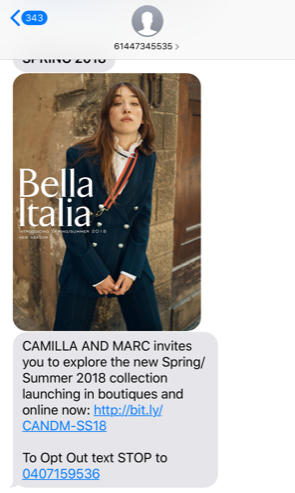
On The Handset
Once you've successfully sent out the Broadcast to Users, it is received on handsets in a intuitive HTML link with a handy preview, providing Users a visual hint of the incoming message.
|