Responses
Response messages are triggered according to the choices you have defined for order participants. So automate your responses for your next Inbound order. Users may create SMS or Voice responses based on their choices.
Inbound messaging now supports multi-channel (any-to-any) responses which allows the Inbound users to respond back in any channel (SMS, RCS, WhatsApp and Voice) irrespective of the initial channel used to trigger the Inbound order.
|
•Click the 'Inbound' tab at the top of the interface to open the Inbound menu.
•Click 'Inbound' to open the 'Inbound: Home' screen.
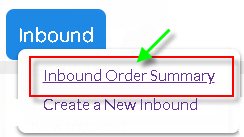
•Open the desired Inbound order name in the 'Inbound' summary table to add response messages.
•The 'Inbound Details' screen will be displayed. |
Setup Responses
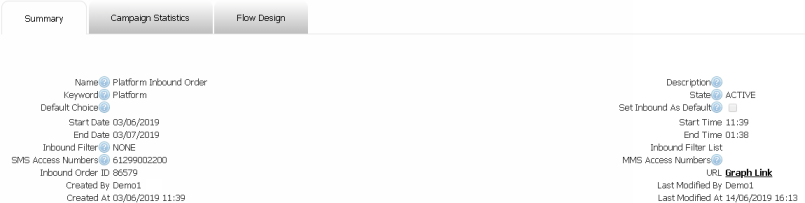
1. . You should be on the Inbound Details page to be able to create Responses.
|
|
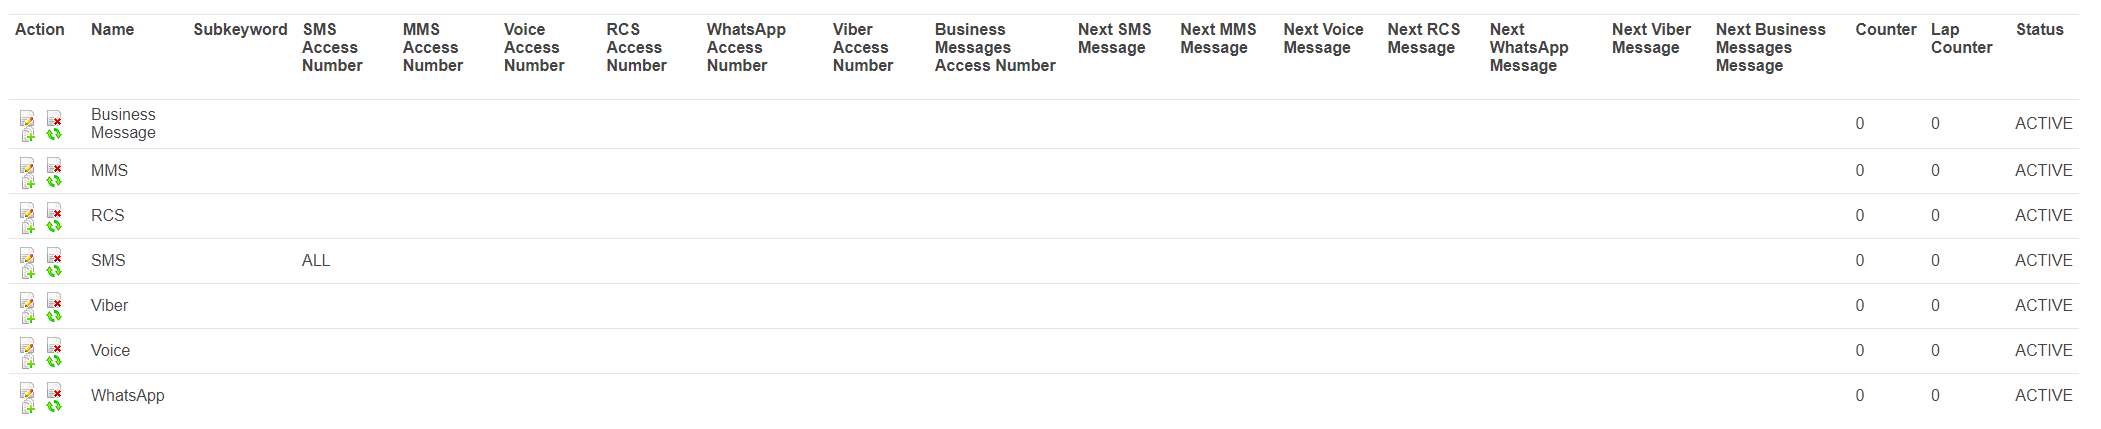


2. Click ![]() in the top-right corner of the 'SMS/Voice/RCS Messages' table to add a new response message.
in the top-right corner of the 'SMS/Voice/RCS Messages' table to add a new response message.
|
|
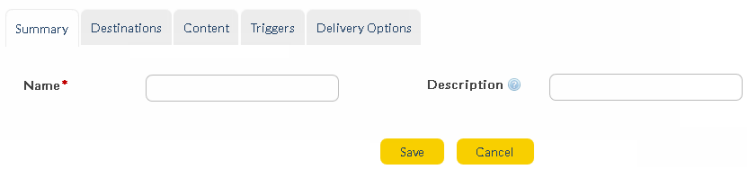
Name
|
Add a unique name for the new response message to help you identify the type of response.
|
Description
|
Any further descriptive information about the response message.
|
3. Add the Destination for your response.
|
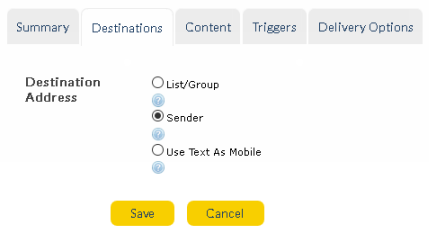
Destination Address |
Where the response is sent to (list/group, sender, mobile number in message body):
•List/Group - A list/group to which the response message is sent. Only shared lists and groups are supported. •Sender - Response message is sent back to the sender of the inbound message. •Use Text As Mobile - Response sent to the mobile number in the inbound message body.
|
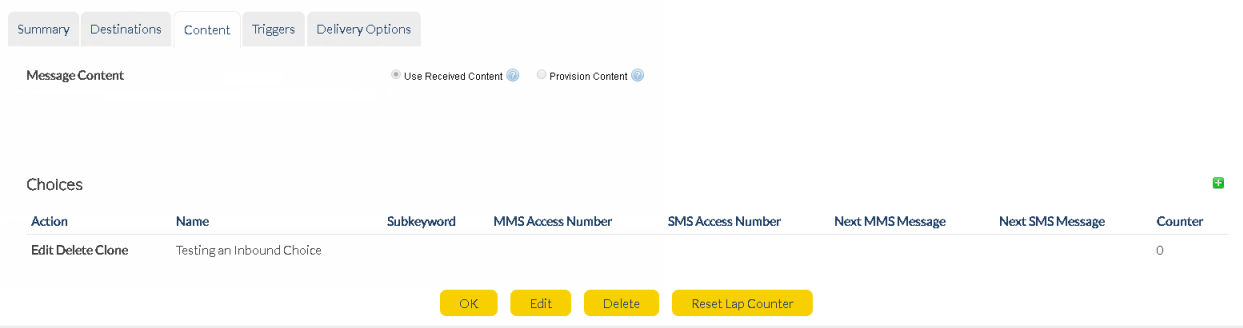
4. You can utilize the content of received messages by forwarding it further or using to create new message. Switch to Content tab and the Message Content shows the below options:
|
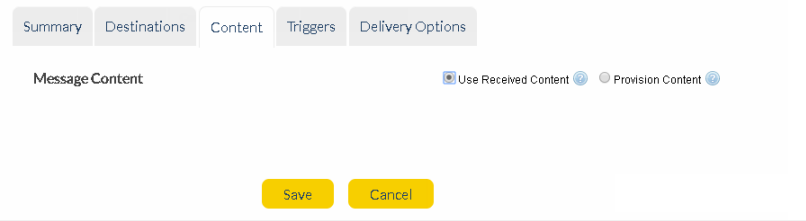
Use Received Content |
Select this options if you wish to use received message as the forwarding content. In case of SMS Message as Response, if 'Provision Content' option is selected, the following variables can be entered and will be replaced by any corresponding values extracted from the Inbound message.
•$content •$sourceAddress •$sourceContactFirstName •$sourceContactLastName
For example, if a customer sends an inbound SMS containing only the keyword 'Red', and response message content is 'Thanks, your choice has been confirmed as $content', the response message will read on customer's device as 'Thanks, your choice has been confirmed as Red'.
If the response message is to be generated using the 'Forward to URL' feature, you can provision 'xPath' content in this field to call the URL response. This relies on the 'Trigger' settings for your Inbound Choice(s).
|
|||
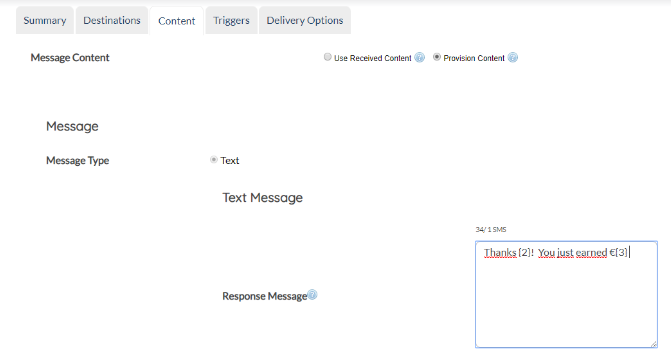
Provision Content |
Select this option to define your message content. If you select 'Provision Content' option for your voice message response, the below screen appears:
Above screen-shot details the ability to utilize mailmerge to ensure customized and quick configuration of responses. The details of the mailmerge items can be updated in the Lists that is being used. Configure the lists to be used here, under the Personal Setup sections. To read more about mailmerge visit the section WebSMS - Text Message.
Notes:
•Mail Merge with List Presentation is supported only on Lists. Currently it is not available for Group and Contacts.
•While using List Presentation with Mailmerge, Users must ensure that '|' or ',' delimiter is present in the List Presentation field. For example: {1}|{2}|…{16} or
{1},{2},…{16}.
Failing to use delimiters will prevent the mailmerge functionality from working as desired.
•Currently the character limit for List Presentation is a maximum of 200 characters (SMS Responses) and 100 characters (WhatsApp responses). If Users provide more than a 200 characters, the mail merge variables after 100 will be presented as for example; {14}{15}{16} -> devoid of any delimiters, again, preventing the mailmerge feature from working as desired.
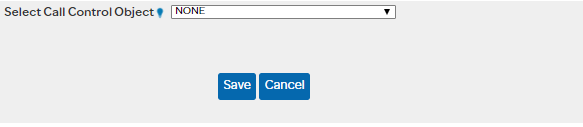
Select Call Control Object - Dropdown with list of predefined Call Control Objects created using Voice Messaging product. In case this Response is triggered in the Inbound, the interlinked Voice Order with selected Call Control Object will be sent to the recipient. This feature of Inbound provides greater flexibility and power to users in setting up IVRs.
Note that in order to select a Call Control Object from the above dropdown, one must make sure CCOs are configure using Voice Messaging as explained in Create Call Control Object. Option to set Call Control Objects is only available for Voice Responses. GSMS users need Voice Messaging licenses to make use of this option.
The Provision Content being presented depends on the medium being chosen. For Example, WhatsApp, RCS etc. presents HTML content builders but SMS presents the standard SMS message content.
|
|||
Conditional Content |
This option is only applicable for Voice responses. If selected, users can define the conditional content based on "Forward to URL" XML response. Once selected, users can enter the variables to evaluate and map to the response:
Variable To Evaluate - Add regular expressions to map to the received content in Forward-to-URL XML response. For example, {/response/text/text()}. Once you add the variables, save the response to view further conditional content options.
Conditional Content - Once the response is saved, switch to the Content tab again to add 'Conditional Content'. Click on the (+) icon to add a conditional content. Enter the name, regular expression, and select a call control object from the dropdown and save it. Users may add multiple conditional content mappings to customize their IVR. Please check the example shown below :
|
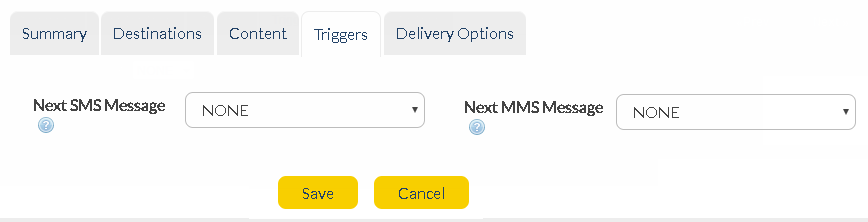
Add the next Trigger for your response message.
|
Define delivery options for responses.
|
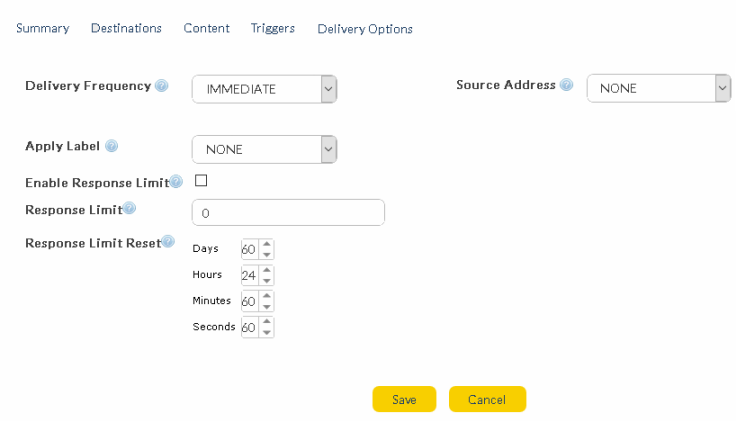
Delivery Frequency |
Allows the user to specify when the response message will go to the user.
•IMMEDIATE
•DELAYED - If you select this option you will be prompted to type/paste a 'Delivery Delay' time.
•ONCE - If you select this option you can specify the time in the future when you want to respond to this message. You can specify the 'Delivery Time' and 'Timezone' when you wish to send back the response.
|
Delivery Delay*
|
Type paste a number (e.g. 5). When a response is received to the inbound message, the system will wait this amount of time before sending the next automated response.
*Field appears only if 'Delayed' has been selected in 'Delivery Frequency'. |
Source Address
|
The source address for the response message. If 'NONE' is selected, customer's address pool is used.
|
Enable Response Limit
|
Enable to set a limit on the number of responses sent in an Inbound order. If enabled, the count of responses sent to same mobile number will be restricted. |
Response Limit |
Count of of allowed retries. Field will be configurable only if "Enable Response Limit" is enabled.
|
Response Limit Reset
|
Time defined to reset the Response Limit counter. Users can set specific time by populating 'Days', 'Hours', 'Minutes' and 'Seconds' fields.
Days : Max supported value is 60. Any value entered above this will reset itself to 60. Hours : Max supported value is 24 Minutes : Max supported value is 60 Seconds : Max supported value is 60 |
Note :
If 'Enable Response Limit' check-box is ticked, please ensure response-limit values are entered. By default, system would set the value to zero resulting in zero response limit i.e. no responses would be triggered.
Also, if in case any errors are encountered with any of the choices chosen, the other choices will still proceed to attempt contact with the Users.
Once all required fields are complete:
|
Store changes and exit
|
|
Discard changes and exit. |