What are Choices?
Choices are the available options that order participants can send to AT&T GSMS in response to an order, and can be designed to trigger one or more automated response messages in turn.
|
•Click the 'Inbound' tab at the top of the interface to open the Inbound menu.
•Click 'Inbound' to open the 'Inbound: Home' screen.
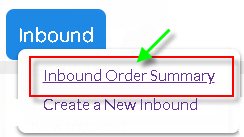
•Open the desired Inbound order name in the 'Inbound' summary table to add choices.
•The 'Inbound Details' screen will be displayed. |
Setup Choices
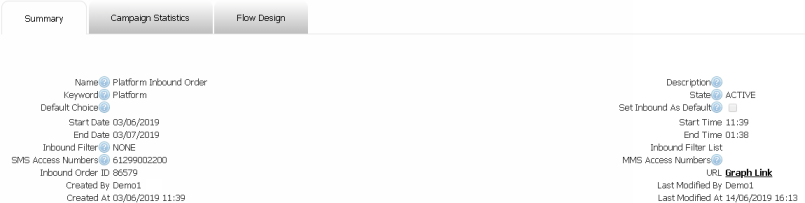
1. You should be on the Inbound Details page to be able to create Choices.
|
|
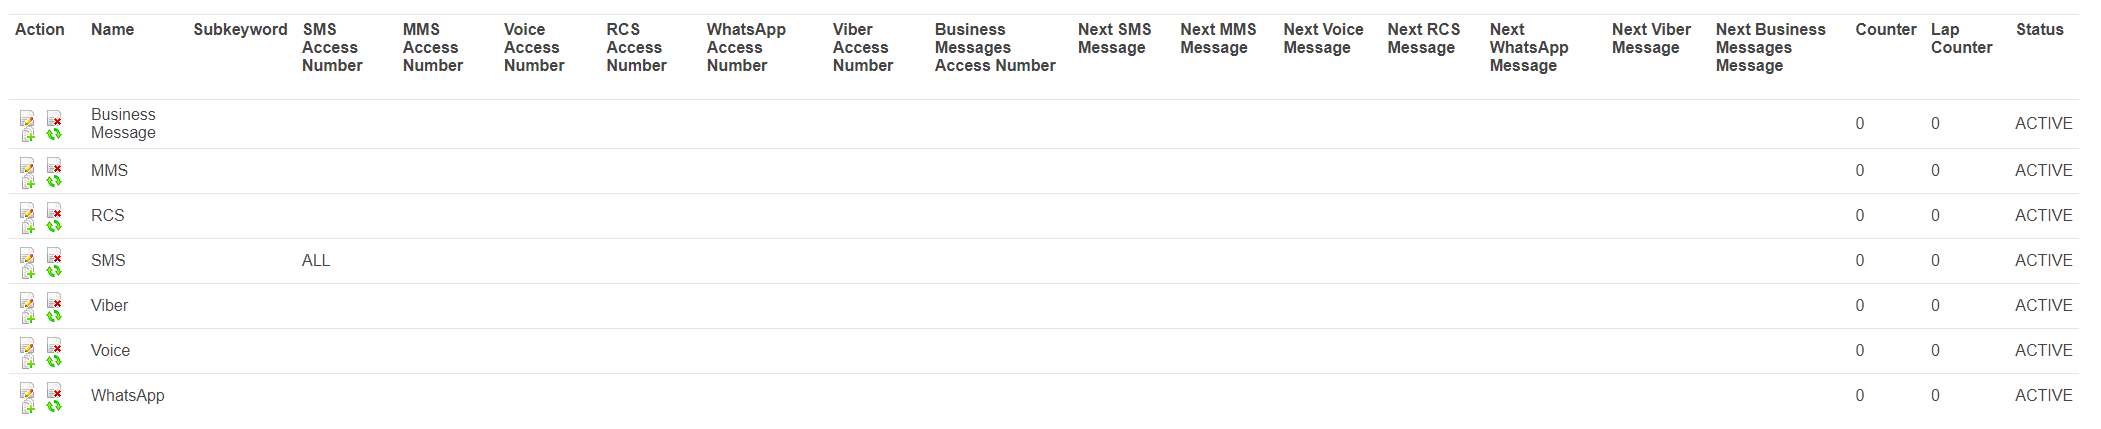


2. Click ![]() in the top-right corner of the 'Choices' table to add a new choice.
in the top-right corner of the 'Choices' table to add a new choice.
|
|
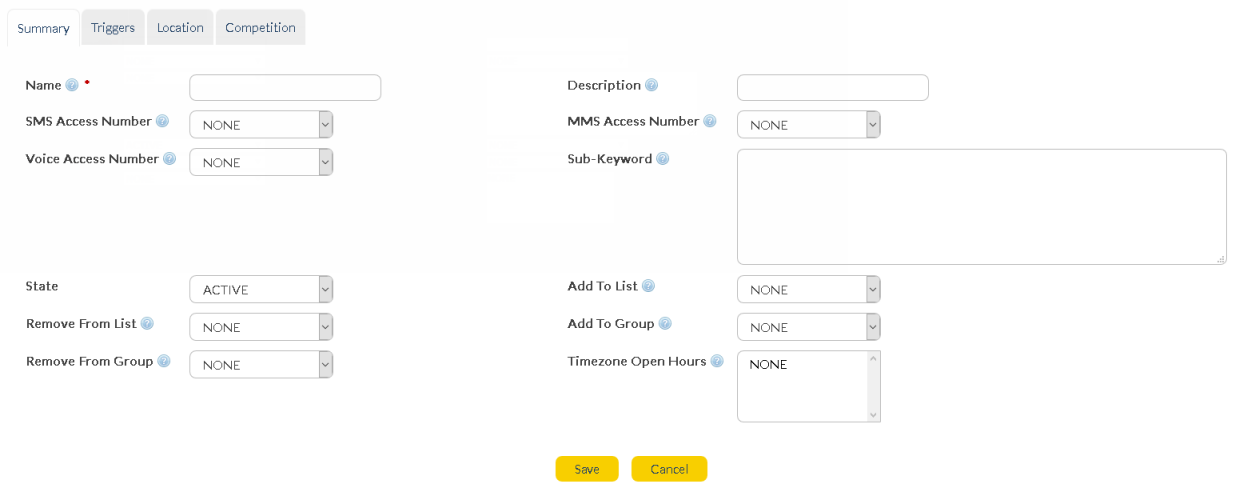
Name
|
A descriptive name for the new choice.
|
Description
|
The description provides more information about your choice.
|
SMS Access Number
|
The Inbound number for MO SMS i.e. the mobile number customers will send their choice to in order to trigger the order and any related responses.
|
Voice Access Number |
The Inbound number for Voice messages.
|
Sub-Keyword
|
Any Inbound message containing the sub-keyword will activate/ trigger this choice (click here for more information on pattern-matching keywords).
|
State
|
Turn choices on/off by selecting 'Active/Inactive'.
|
Add To List
|
If you select a list, when the choice is triggered, the sender’s mobile number will be added to the list.
|
Remove From List
|
If you select a list that the sender belongs to, the sender’s mobile number will be removed from the list (otherwise nothing happens).
|
Add To Group
|
If you select a group, when the choice is triggered, the sender’s mobile number will be added to the group.
|
Remove From Group
|
If you select a group that the sender belongs to, the sender’s mobile number will be removed from the group (otherwise nothing happens).
|
Timezone Open Hours
|
This can be used to prevent messages from being delivered in anti-social hours e.g. after work, at night, on weekends etc.
To associate this choice with a specific timeframe, select one or more existing profile(s) from the list. If no options are displayed, it means you have not defined any 'Timezone Open Hours' profiles.
Click here for more information about setting up Timezone Open Hours.
If you do not wish to specify open hours, select 'None'. |
Add Triggers
|
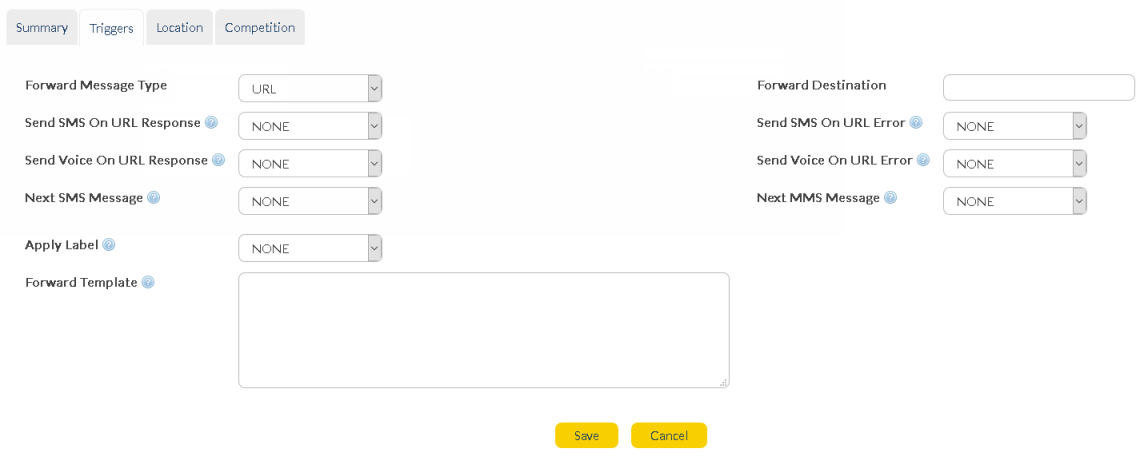
Forward Type
|
Forward Inbound (received) messages to an email, inbox, mobile or URL.
|
Forward Destination
|
The Email, Inbox, Mobile or URL address that you want to receive the inbound messages in.
|
Send SMS on URL Response
|
This drop-down is only visible when 'Forward Type' = 'URL'.
Choose an SMS response from the drop-down list. This will be triggered upon a successful response from the specified URL in 'Forward Destination' field.\
|
Send SMS on URL Error
|
This drop-down is only visible when 'Forward Type' = 'URL'.
Choose an SMS response from the drop-down list. This will be triggered when an error response is returned from the specified URL.
The response text should be specifically designed to notify the recipient that there has been an error.
|
Next SMS Message
|
Choose from 'None' or click on the drop-down menu and select the next SMS message.
Note: If you have already selected 'Send SMS on URL Response', leave this drop-down as 'NONE'.
|
Next Voice Messages |
Choose from 'None' or click on the drop-down menu and select the next Voice message.
Note: If you have already selected 'Send Voice on URL Response', leave this drop-down as 'NONE'..
|
Apply Label
|
Select from the drop-down list (license required). Click here for more information about Labels.
|
Forward Template |
This field is only visible when 'Forward Type' = 'URL'.
An XML template can be added in this field, containing variables which are used by the 'Forward Destination' URL to return corresponding values in the SMS response, as defined in 'Send SMS on URL Response' field.
Click here to view supported variables and template code example |
Forward Type
|
Forward received Inbound messages to any of the following:
•None •Inbox •Mobile •URL
|
Forward Destination
|
The Email, Inbox, Mobile or URL address that you want to receive the inbound messages in.
|
Send SMS on URL Response
|
This drop-down is only visible when 'Forward Type' = 'URL'.
Choose an SMS response from the drop-down list. This will be triggered upon a successful response from the specified URL in 'Forward Destination' field.
|
Send SMS on URL Error
|
This drop-down is only visible when 'Forward Type' = 'URL'.
Choose an SMS response from the drop-down list. This will be triggered when an error response is returned from the specified URL.
The response text should be specifically designed to notify the recipient that there has been an error.
|
Next SMS Message
|
Choose from 'None' or click on the drop-down menu and select the next SMS message.
Note: If you have already selected 'Send SMS on URL Response', leave this drop-down as 'NONE'.
|
Next Voice Messages |
Choose from 'None' or click on the drop-down menu and select the next Voice message.
Note: If you have already selected 'Send Voice on URL Response', leave this drop-down as 'NONE'..
|
Apply Label
|
Select from the drop-down list (license required). Click here for more information about Labels.
|
Forward Template |
This field is only visible when 'Forward Type' = 'URL'.
An XML template can be added in this field, containing variables which are used by the 'Forward Destination' URL to return corresponding values in the SMS response, as defined in 'Send SMS on URL Response' field.
Click here to view supported variables and template code example |
Send Voice on URL Response
|
This drop-down is only visible when 'Forward Type' = 'URL'.
Choose a Voice response from the drop-down list. This will be triggered upon a successful response from the specified URL in 'Forward Destination' field.
|
Send Voice on URL Error
|
This drop-down is only visible when 'Forward Type' = 'URL'.
Choose a Voice response from the drop-down list. This will be triggered when an error response is returned from the specified URL.
The response text should be specifically designed to notify the recipient that there has been an error.
|
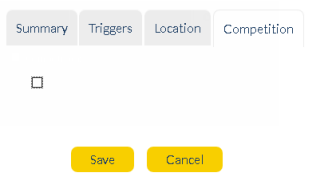
Set up Competition
The competition engine is located in the 'Inbound Choice' screen and appears when you tick the check-box beside the box titled 'Competition'.
|
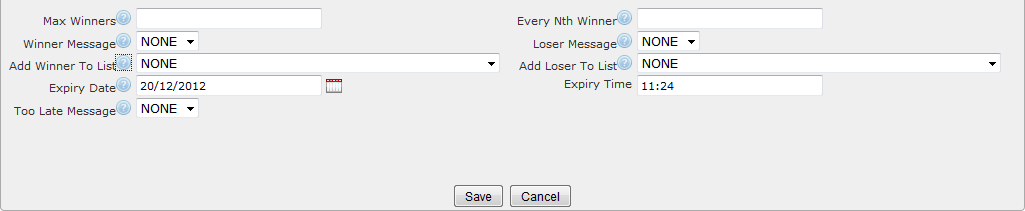
If you choose to utilize the competition's draw engine, the following options are available.
Max Winners
|
Maximum number of winners.
|
Every Nth Winner
|
For example, 2nd, 3rd, 4th successful entry is a winner.
|
Winner Message
|
Message sent to winners.
|
Loser Message
|
Message sent to losers.
|
Add Winner to List
|
Add winners to a list.
|
Add Loser to List
|
Add losers to a list.
|
Expiry Date
|
Date the competition expires.
|
Expiry Time
|
Time the competition expires.
|
Too Late Message
|
Message to respondents if they try to join the competition after it has closed.
|
|
The Competition Draw Engine has been certified within all states of Australia. Please contact your Account Executive for details for the lotteries reference number. Outside of Australia, contact your Account Executive for further details relating to your region. |
Once all required fields are complete:
|
Store changes and exit
|
|
Undo any changes and exit.
|