Once you have established your framework, you can begin adding your content.
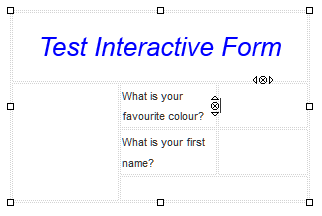
Text To add text, simply click and type in the relevant fields and then format as required using the text options in the toolbar. |
|
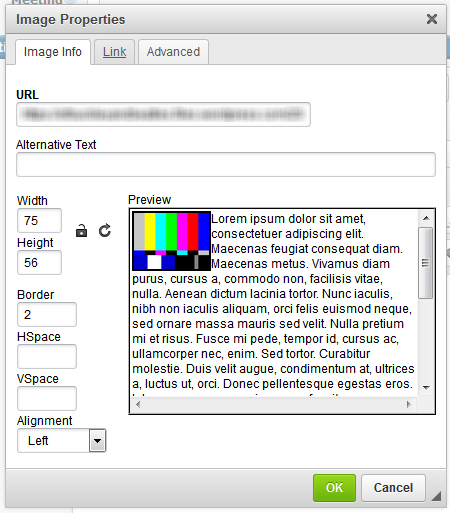
Images To add an image, select the image button from the toolbar. The image you wish to use must be hosted on a publicly-available URL and have hotlinking enabled. In the Image dialog box, enter the URL of the image and then configure the sizing, border and alignment as required.
NOTE: Images will only appear in the workflow if it is a secured URL i.e HTTPS. |
|
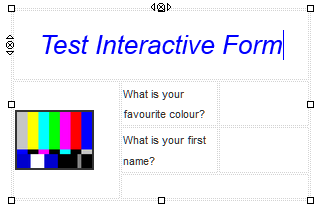
To make the image a link, use the Link tab in the image dialog box and enter the URL that the image is to direct users to when clicked. Once you have completed setting up your image, click ok. The image will be inserted into your layout.
If you wish to make changes to the image, double click it to reopen the dialog box. |
|
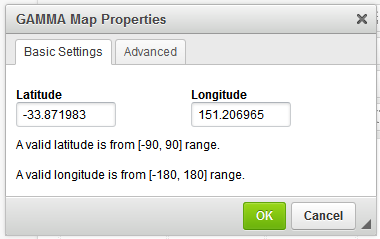
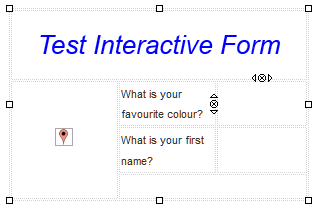
Maps To insert a map, click on the map icon on the toolbar. You will be presented with the map dialog box. |
|
Enter in the latitude and longitude of the address you wish to display on the map (For instructions on how to obtain this information from Google Maps, please click here). To resize the map, click on the advanced tab. Once you have entered the required information, click ok to insert the map into your layout. The map will be displayed as a pin in the builder. |
|