HTML allows you to create an HTML message page (by means of drag-and-drop elements) which is stored on the LDAP (Active Directory) Plug-in server and displayed in the mobile device's browser when the message recipient clicks on a link sent to their mobile device via SMS.
HTML allows you to harness the rich media options of a website or email and deliver it in the convenient, high engagement format of SMS. A unique URL is generated for each recipient, allowing tracking of the open rate of your HTML message. MailMerge capabilities in both the SMS and HTML portions of the message gives you control to personalize the message to your recipients.
|
Text Part (Message)
|
Type/paste your message text. The maximum length for a single SMS is 160 characters - an extra SMS will be sent every time this limit is exceeded. You must include the variable $url at the point in your message where you would like the link to the HTML content to appear. If this variable is not included then the link to your content will not be included in your message. |
||||||
HTML Part
|
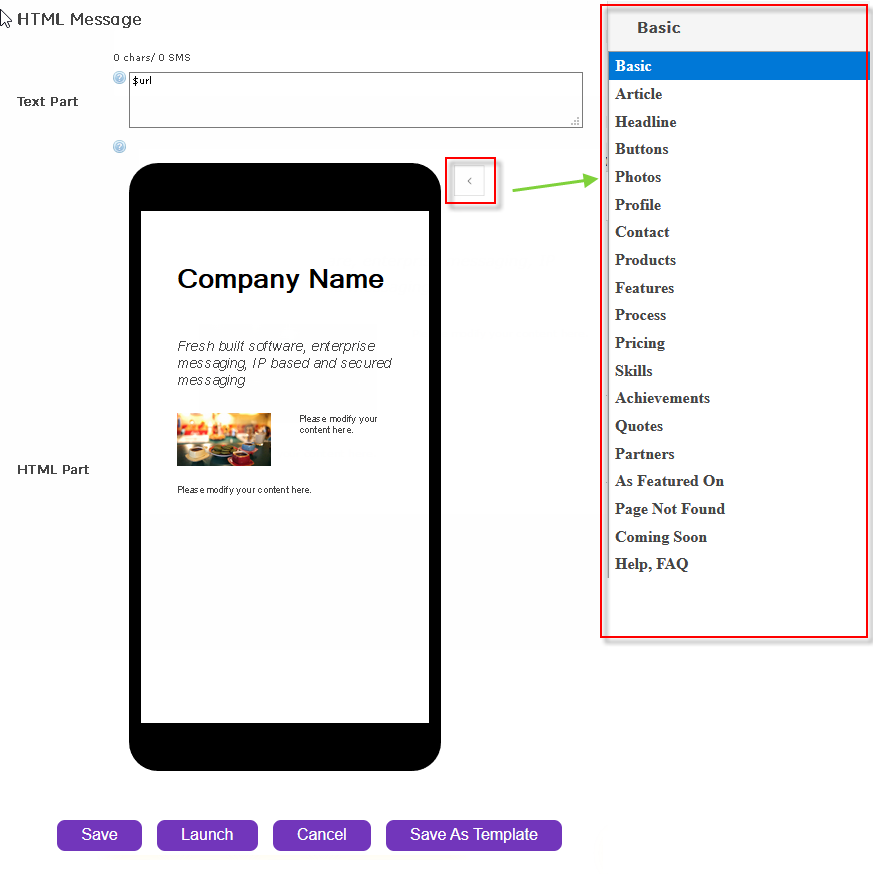
A HTML WYSIWYG (what you see is what you get) editor to help you build your message. The editor will open with some sample content elements already pre-loaded. You may change, rearrange or remove these elements as required.
Clicking on the
Template Element Browser - Clicking on the pencil on the right hand side of the screen will open a scrolling menu with different template elements (called snippets) that are available to be added to your message. To use an element, drag and drop it into the main editor window, positioning it where it is to appear in the final message. The element may then be edited as required.
The HTML editor provides several templates to drag-and-drop:
Above are some, amongst the other available elements.
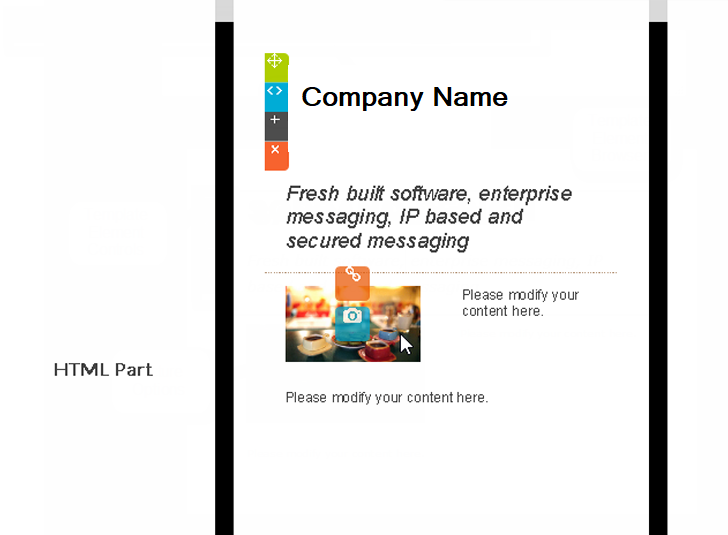
Template Element Controls - These controls activate when you click on a template element and provide the following functionality: Hovering over / clicking on any of the elements within the editing space brings up the below view.
Note - elements cannot be resized.
Text Attributes Menu - The Text Attributes Menu appears at the top of the screen when the element being edited is text. Choose options from this menu to change the appearance of the text in the element being edited.
The text editing options are (L-R): Bold; Italic; Underline; Strikethrough; Text, Background and Block Background color; Font Size; Restore to default format (must select text first); Heading Style; Font Style; Justification; Bullets and Numbering; Add Hyperlink (must select text first); Remove Hyperlink (must select text first).
Picture Options - the Picture Options appear when the mouse is hovered over an image in the template element. The following functionality is provided:
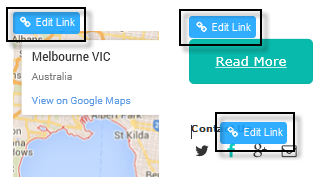
Link Options - Some template elements include icons, buttons or embedded objects (eg - Maps or YouTube videos) which link to an external source. These items will display a "Change Link" option to allow for customization.
|
||||||
Subscribe / Un-Subscribe |
Reply Subscription Management (only HTML Method)
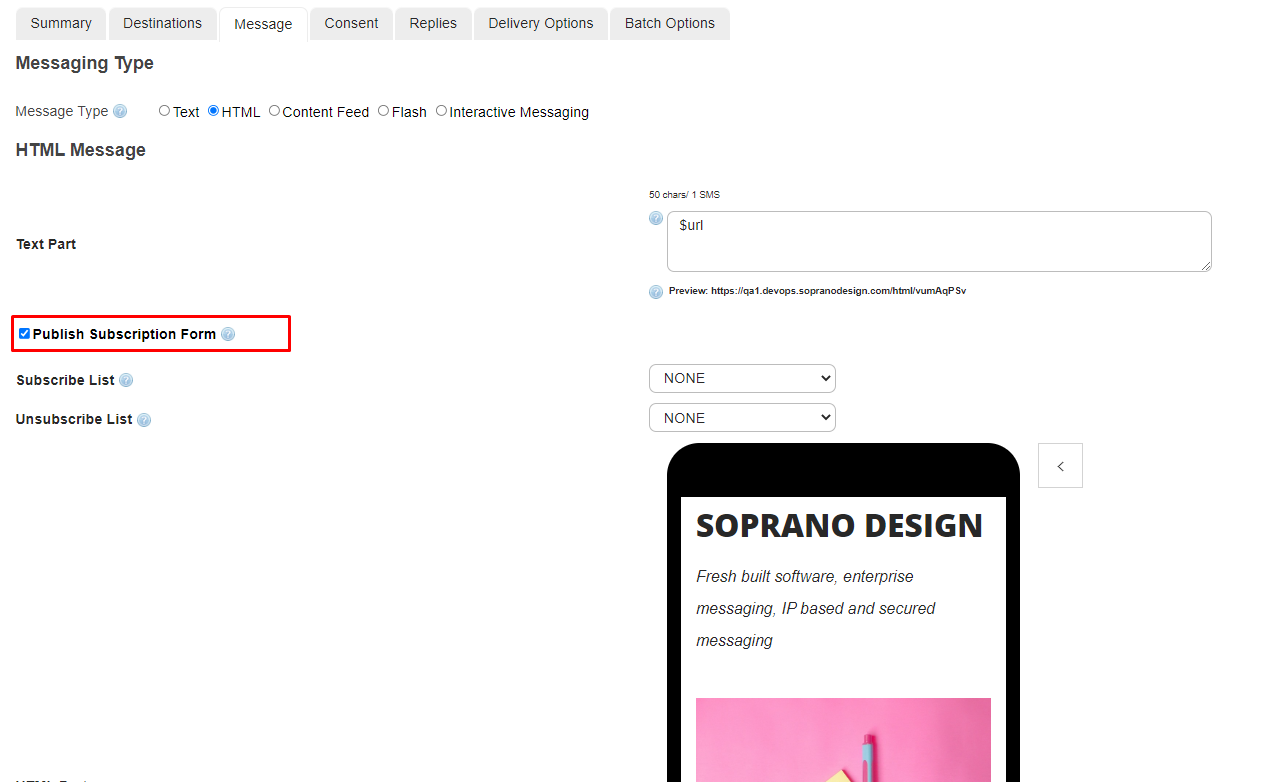
The dedicated button labeled Publish Subscription Form, allows Users to create custom links to separate subscribe and un-subscribe links.
Once this box has been checked, Users must choose appropriate pre-configured lists for each scenario ; Subscribe and Un-Subscribe.
Click on the
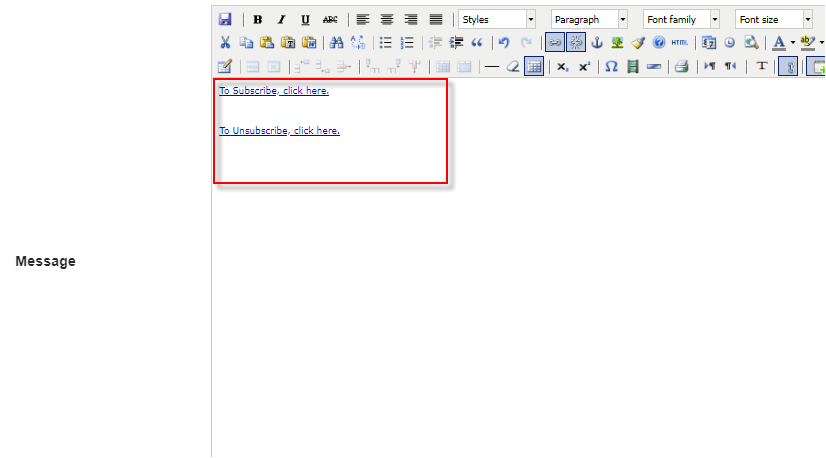
Clicking on Subscribe link creates a link that says To Subscribe, click here allowing Users to use this link to Subscribe to emails and clicking on Unsubscribe Link creates a link that says To Unsubscribe, click here allowing Users to un-subscribe from emails.
As Users receive and click on the subscribe / un-subscribe links present in the email they are automatically added into the opt-in or opt-out lists respectively.
|
||||||
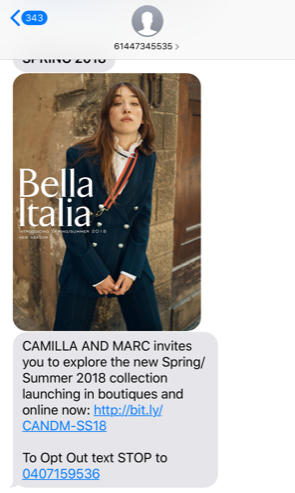
Output on Mobile Phones |
Once the HTML message is sent to mobile phones, a link preview is visible on their devices. This helps user view a small "preview" of the incoming message before they open the actual link.
|


 .
.
Using Mail Merge
To use Mail Merge in your HTML message, please refer to the Mail Merge section of the Text Message topic. Mail Merge is enabled in both the Text part and the HTML part of the message.